How to Jump Start a Car? Everything You Need to Know to Get Back on the Road
In my twenty-plus years as an automotive mechanic, I’ve heard countless stories that start the same way: the sound of silence when the key turns, or that pathetic, rapid clicking noise coming from the engine bay. It’s the universal sign of a dead car battery, a helpless feeling that usually strikes at the worst possible time—the grocery store parking lot, an early morning commute, or worse, out in the middle of nowhere on a freezing cold day. While modern vehicles are filled with complex electronics, the core skill of jump starting a car remains one of the most vital pieces of knowledge any driver can possess. Most people know the red and black jumper cables go somewhere, but the exact sequence is not just about getting the engine to turn over; it’s about protecting your car’s sensitive computer systems and, most critically, your own safety from a potential electrical short or even a battery explosion.
Safety First: Prepping the Scene for a Successful Boost
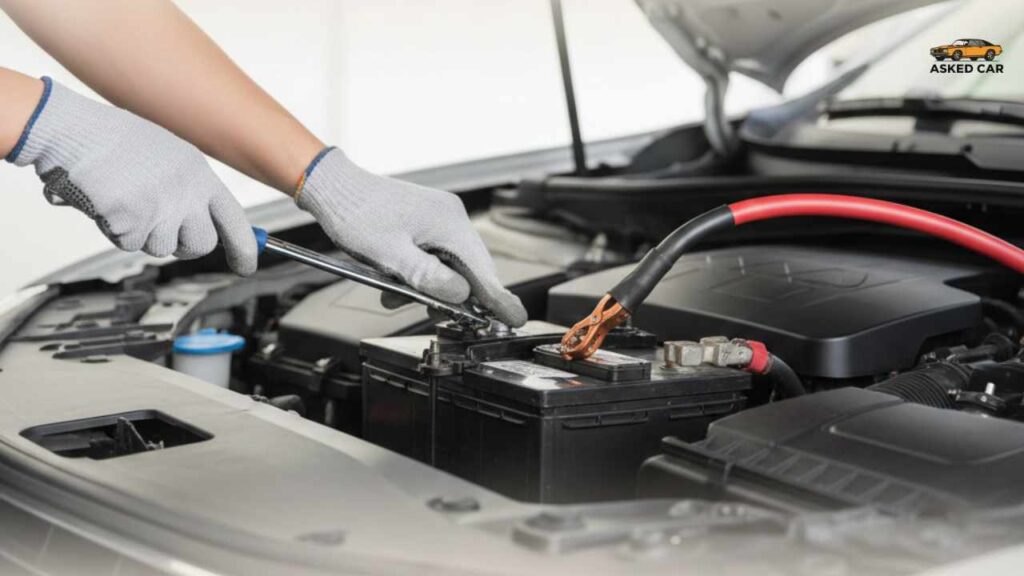
Before the booster cables even come out of the trunk, you have to prioritize the environment and the equipment. I’ve seen good Samaritans accidentally fry their own charging systems because they rushed this step. The first rule is that both vehicles must be shut completely OFF, with both parking brakes firmly engaged. If you drive a manual, it needs to be in neutral; an automatic must be in Park. We need to create a stable, non-moving environment for this high-current procedure. Crucially, the working car (the donor) and the vehicle with the flat battery must not be touching. Even the slightest metal-to-metal contact can lead to a dangerous short circuit once the cables are live, which can damage the electrical system of both vehicles.
Next, you need to conduct a quick visual check of the dead battery itself. If you see any cracks, leaks, or a bulging case, or if you get a whiff of that acrid, tell-tale sulfur smell of battery acid—stop immediately. Do not attempt a jump. That battery is compromised, and trying to force a charge into it risks igniting the flammable hydrogen gas that often builds up around a failing lead-acid battery. In my shop, we always insist on wearing safety glasses and avoiding any loose-fitting clothing or metal jewelry to minimize the risk of fire or contact with corrosive material. Finally, make absolutely sure both vehicles operate on the same voltage, which in 99% of modern passenger cars will be 12-volt systems.
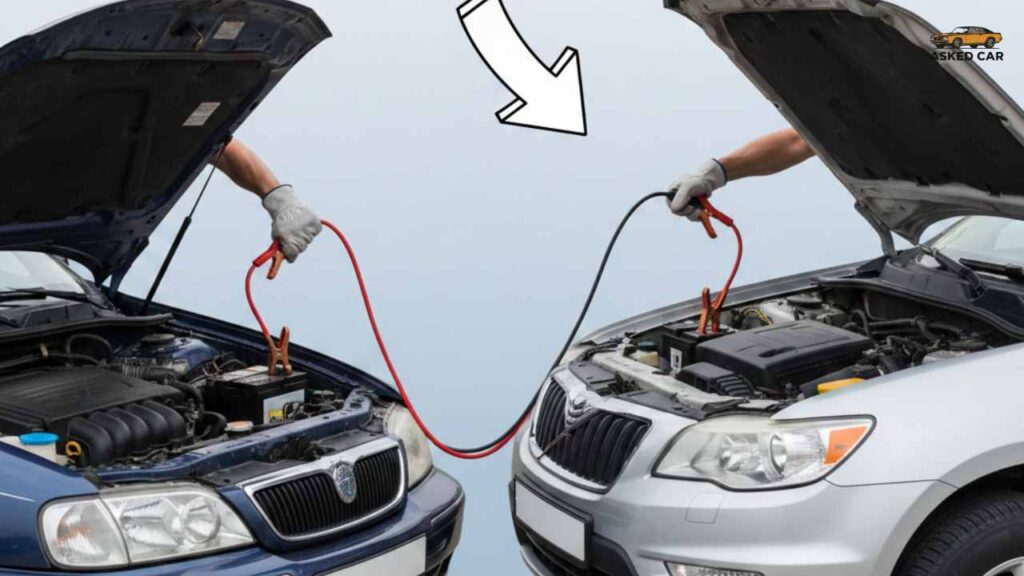
The Classic Method: Car-to-Car Jump Start Sequence
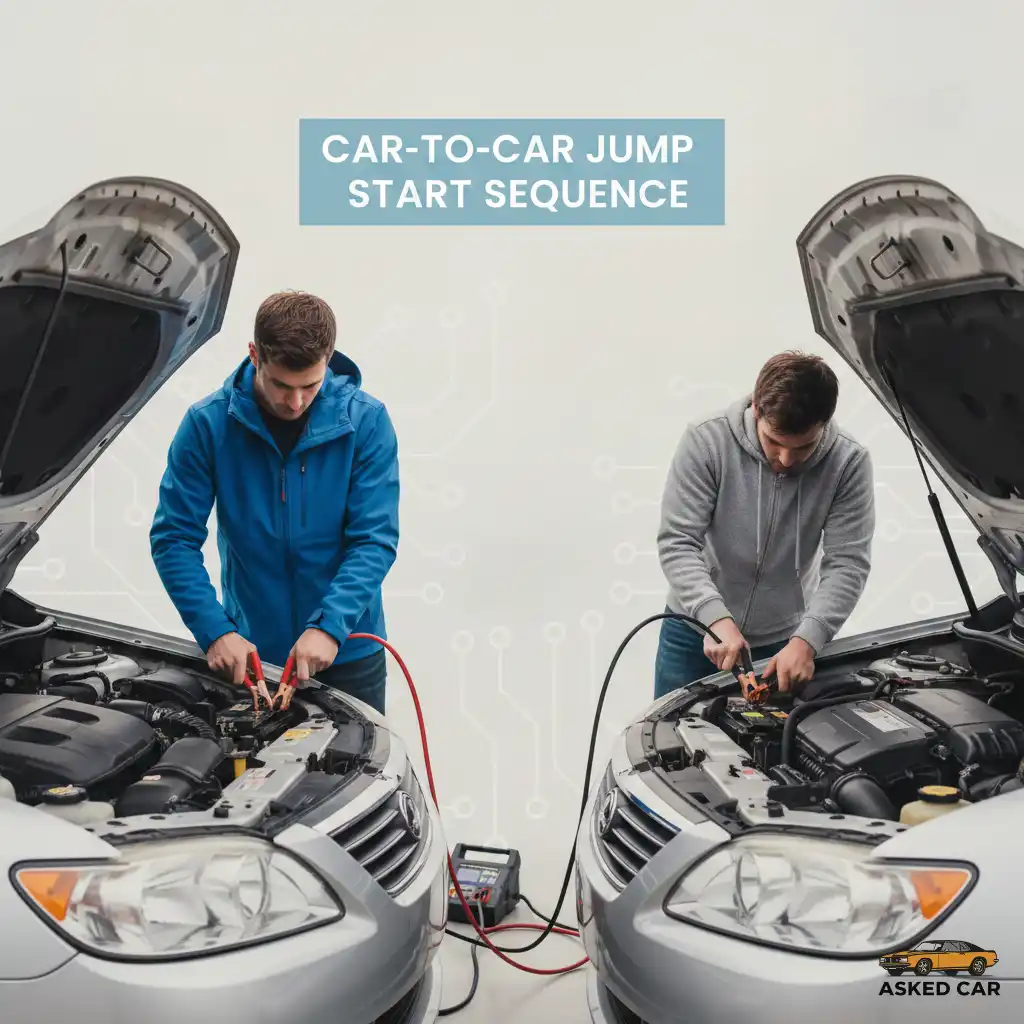
When you’re relying on a kind stranger’s car, the assisting vehicle the proper connection order is the difference between success and a costly trip to the service department. This four-step connection sequence is non-negotiable and must be followed to the letter to ensure that the final, most spark-prone connection happens away from the potentially gassing battery.
Connecting the Cables: The Critical Red-to-Red Start
The sequence always begins and ends with the positive terminal, which is typically marked with a (+) sign and often has a red plastic cap.
First, take one of the red clamps of your heavy-duty jumper cables and firmly attach it to the positive terminal (+) of the dead battery. Ensure the alligator clip has a good, solid grip on the post, scraping away any white or blue corrosion if necessary.
Second, take the other red clamp on the opposite end of the cable set and attach it to the positive terminal (+) of the working car’s battery. At this point, the positive circuit is connected, but the system is not yet live or grounded.
The Black Cable: Negative and the Safety Ground
This is where the majority of DIY jumpers make their mistake, risking a spark right above the battery where the flammable gas collects.
Third, take one of the black clamps and attach it to the negative terminal (-) of the working car’s battery. This makes the entire cable set live, which is why the fourth step is critical.
Fourth, take the final black clamp and attach it to a large, clean, unpainted metal surface on the vehicle with the discharged battery. I always look for a sturdy bolt or bracket on the engine block or the main chassis. This location acts as a safe, remote grounding point, ensuring that any final spark is nowhere near the battery itself. For many modern cars, the owner’s manual will explicitly identify a dedicated remote jump start point in the engine bay that bypasses the actual battery location, especially on vehicles where the battery is located in the trunk or under the back seat. Always use that manufacturer-recommended point if you can find it.
Transferring Power and Firing Up the Engine
With all four cables securely attached, start the working car’s engine and let it run, or idle, for three to five minutes. This isn’t just a courtesy; it allows the good alternator to create a strong charge and push a significant current through the booster cables and into the depleted dead battery. After this short pre-charge period, try to start the car with the flat battery.
If you turn the ignition and the engine cranks sluggishly but starts, keep it running. If you get the dreaded clicking noise or no response, shut the ignition off, wait another five minutes while the donor car continues to idle, and try one more time. Do not attempt more than three jumps, as you risk damaging your starter motor or overheating the jumper cables themselves. A failed jump after multiple attempts usually indicates a larger problem, such as a completely dead cell in the battery or a failed starter motor.
Disconnecting: The Reverse Safety Order
Once your engine is humming, do not shut it off immediately. But before you disconnect the cables, I always recommend you turn on a high-load electrical accessory, like the headlights or the rear window defroster, on the car that was just jumped. This absorbs any transient electrical spike that might occur when you remove the clamps, protecting your sensitive onboard computer and sensors from a voltage surge.
The disconnection must be done in the exact reverse order of connection, moving the final spark away from the battery.
Remove the black clamp from the unpainted metal surface (ground connection) on the formerly dead car.
Remove the black clamp from the negative (-) terminal of the working car.
Remove the red clamp from the positive (+) terminal of the working car.
Remove the red clamp from the positive (+) terminal of the jump-started car.
The Modern Alternative: Portable Jump Starters
In my experience, the modern portable jump starter or power pack has become the single most valuable tool a driver can keep in their car. These compact, lithium-ion devices eliminate the need for a donor car and often come equipped with internal safety circuits and surge protection, simplifying the connection process immensely.
With a good jump starter, the process is even simpler. You connect the red clamp to the positive terminal (+) and the black clamp to the negative terminal (-) (or the remote jump start point) of your car. You turn the power pack on, wait for the green light or indicator that it has established a connection, and then turn your key. Because these devices are engineered specifically for boosting, they deliver a massive, controlled burst of current far more reliably and safely than two cars connected by cables.
After the Jump: Dealing with the Root Cause
The jump start is merely a temporary solution for a discharged battery. The car is running, but the underlying problem has not been solved. My final piece of advice to every customer is to drive the car immediately for at least 20 to 30 minutes at highway speeds. This allows the alternator—the vehicle’s internal power generator—to restore a baseline charge to the 12-volt battery. If the battery is very old or suffering from a severe internal defect, it may not hold that charge.
If your car dies again the next day, or if you had to crank the engine for an unusually long time to get it to turn over, the issue is likely one of two things: the battery is too old and needs replacement, or your alternator has failed and is no longer supplying power to the system while the engine is running. That requires a trip to the mechanic for a proper load test and diagnostics to ensure the entire charging system is healthy. Remember, a jump start is your roadside lifeline, but a healthy battery and a strong alternator are what keep you reliably on the road.